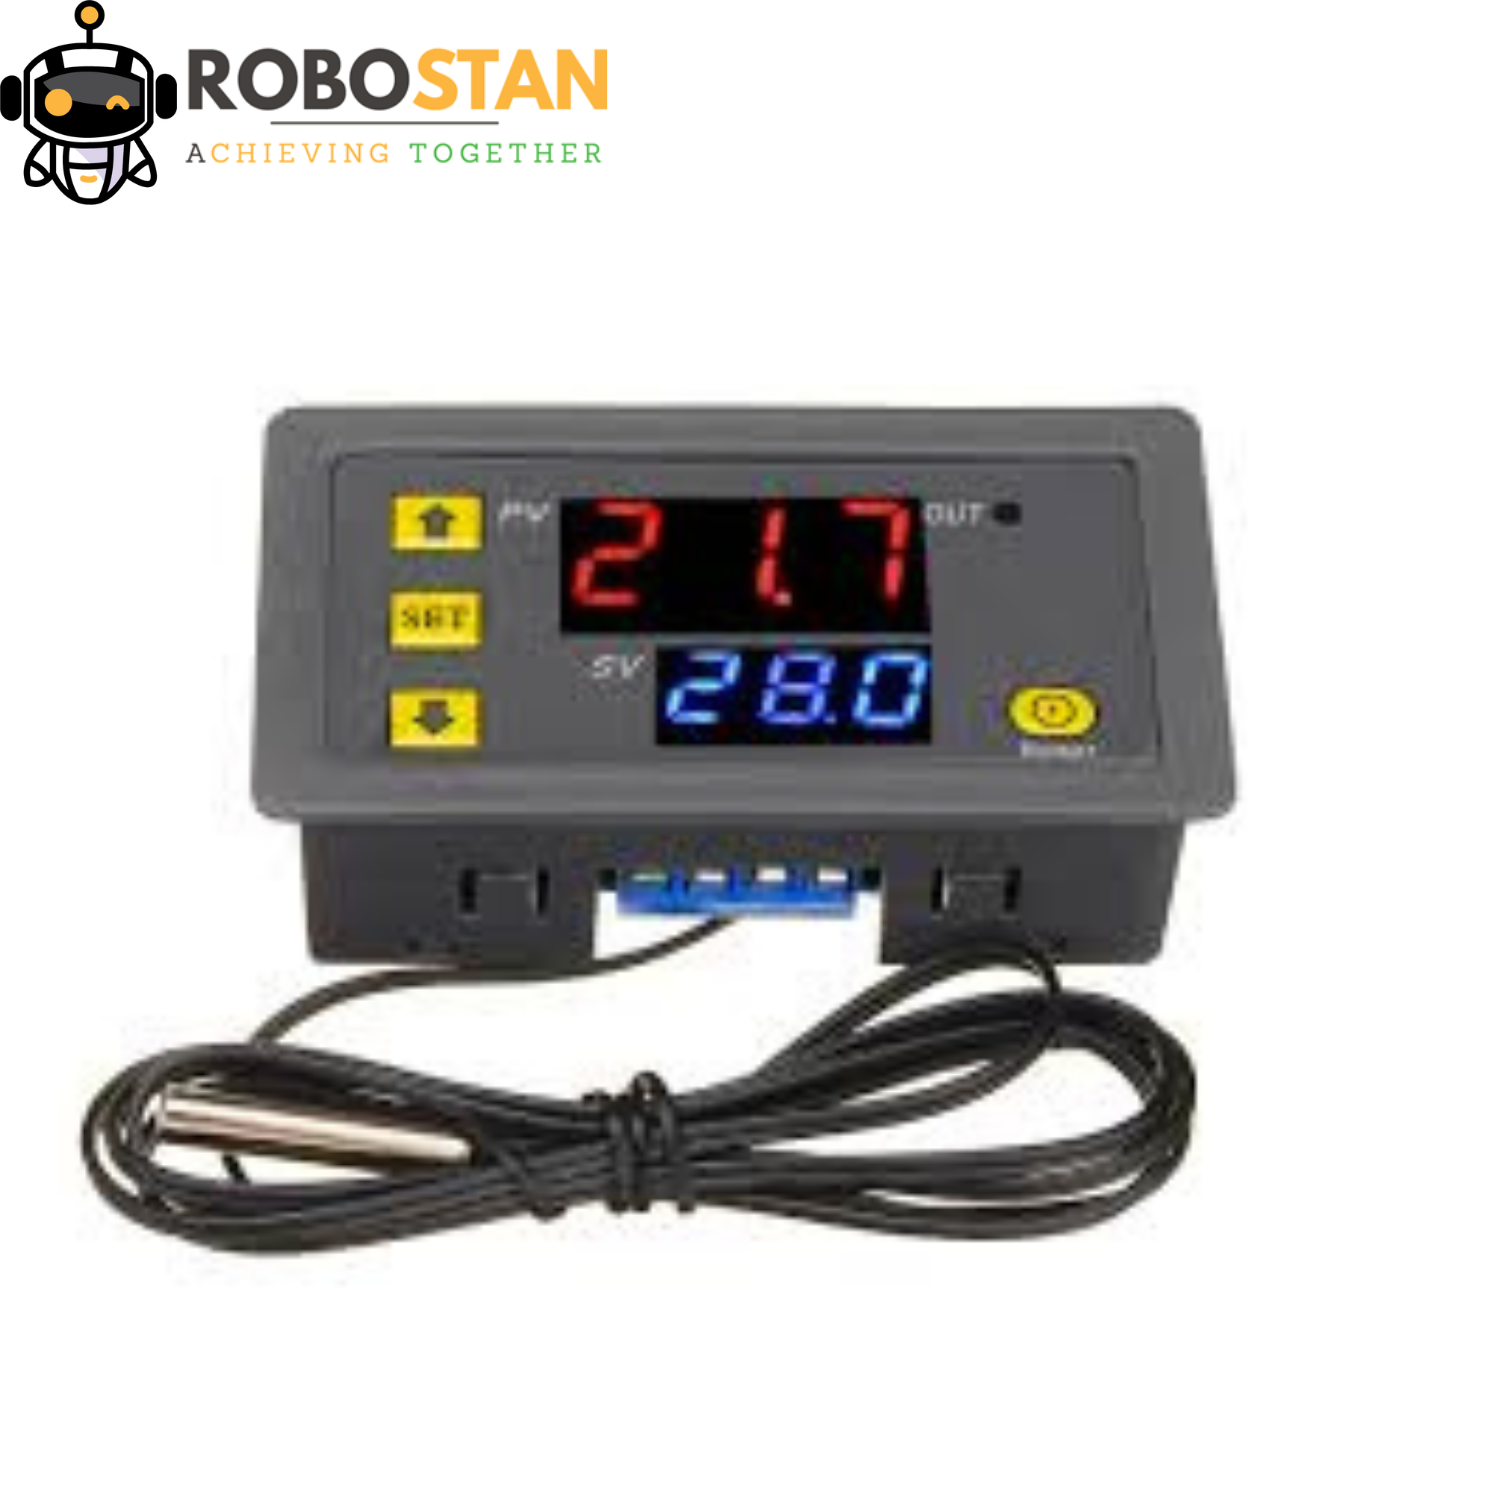
W3230 AC 220v DC 12V Digital Thermostat Temperature Controller
W3230 AC 220v DC 12V Digital Thermostat Temperature Controller Product description:
- Mini temperature controller.
- With a clear LED display for better readability.
- Wide temperature measuring range.
- Heating or cooling control.
- All parameters set can be saved after a short circuit.
- Relay output.
- High Control precision 0.1 centigrade
- Can be used for domestic freezer, water tanks, refrigerator, industrial chiller, steamer, industrial equipment and other
- temperature-controlled system.
Specification:
- Power Supply: 110V – 220V AC; Color of Displaying: red/blue; Sensor: NTC10K Waterproof sensor
- Output: Relay Contact Capacity 10A 220V / 20A 12V / 20A 24V
- Temperature Control Range:-55°-120°; Resolution Ratio: 0.1°C(-9.9-99.9); 1°C(other range)
- Measurement accuracy: ±0.1°C; Control accuracy: 0.1°C
- Environmental requirements: -10-60°C , humidity 20%-85%RH; Dimension:79mm*43mm*26mm; Cutting Size:73mm*39mm; Sensor wire: 1 meter
- Temperature Setting
After the temperature controller is connected to the power, the actual temperature is shown on the red
display. When you press the SET key, the blue display will flash. Press UP and DOWN keys to adjust the
temperature.
P0: Working Mode
This value should be set when you start using the thermostat. If it is used for heating, this parameter
should be set to “H”. Otherwise, if used for cooling it should be set to “C”.
P1: Hysteresis
The difference between the temperature at which the thermostat switches off – and the temperature at
which it switches on again.
Example: We set the heating mode and the temperature is 37~40°C – The hysteresis is 3°C.
P2-P3: Setting Limits
These functions set the limit values of the temperature range. Under the normal state, the setting range is
between -40°C and +120°C. If you don’t need so big range, you can set the values of these parameters to
shorten it.
Example: P2 is set to 50°C, P3 is set to 20°C – The temperature can be set from 20°C to 50°C.
P4: Temperature Correction
This function is used to correct the temperature in case there’s a deviation between the measured
temperature and the actual temperature.
Example: We measure the temperature of 25.6°C and the actual temperature is 25.8°C – You can set P4
to 0.2°C, so the displaying temperature will be 25.8°C.
P5: Delay Start
This function is generally used for cooling the refrigeration compressor. So, if you purchase the
thermostat for the refrigerator, this value has to be set to 3-6 minutes (depending on the size of the
compressor). If it doesn’t control the compressor, this value should be set to 0.
P6: High-temperature Alarm
When the actual temperature exceeds the upper temperature limit of +120°C, the thermostat will display
flashing “CCC” on the red display. In case of a short circuit, the blinking “LLL” message will be shown
on the red display.
P7: Data Lock
If you need to prevent other people from changing your set temperature, you can set P7 to ON after
finishing the setting of the parameters. After setting to ON, the temperature and the internal parameters
cannot be changed.
P8: Restore Factory Settings
By setting P8 to ON, all the settings will be reverted to their factory default.
P9: Temperature Scale
You can switch between Celsius (°C) and Fahrenheit (°F) temperature scale by modifying value of this
parameter (“HS” – Celsius, “FC” – Fahrenheit).
Setting Examples
Cooling Mode
Controlling refrigeration equipment will stop cooling when the temperature is 25°C and start cooling
when the temperature is 30°C. To set the working mode like this, follow the next steps:
1. In the state of displaying the normal temperature, press the SET key to get the flashing numbers
on the blue display; find the value 25.0°C by navigating with UP and DOWN buttons and finally
press the RESTART key to confirm and get back to display state.
2. To access the parameter setting mode, press the SET key and hold it for 5 seconds until “P0”
appears on the screen. Then press the SET key to access the P0 code parameter. By pressing UP /
DOWN, you can adjust between different modes. Choose “C” mode and press the RESTART key
to confirm and get back to display state.
3. Go to parameter setting mode again by holding the SET key for 5 seconds. When P0 is displayed
on the screen, press the UP button to adjust to the code P1 (hysteresis) and then press SET to
access the P1 code parameter. Adjust the value to 5.0 by navigating with UP/DOWN buttons and
finally press the RESTART key to confirm and get back to display state.
If you need to set other parameters, please refer to above settings.
Heating mode
Controlling heating equipment will stop heating when the temperature is 30°C and start heating when the
temperature is 25°C. To set the working mode like this, follow the next steps:
1. In the state of displaying the normal temperature, press the SET key to get the flashing numbers
on the blue display; find the value 25.0°C by navigating with UP and DOWN buttons and finally
press the RESTART key to confirm and get back to display state.
2. To access the parameter setting mode, press the SET key and hold it for 5 seconds until “P0”
appears on the screen. Then press the SET key to access the P0 code parameter. By pressing UP /
DOWN, you can adjust between different modes. Choose “H” mode and press the RESTART key
to confirm and get back to display state.
3. Go to parameter setting mode again by holding the SET key for 5 seconds. When P0 is displayed
on the screen, press the UP button to adjust to the code P1 (hysteresis) and then press SET to
access the P1 code parameter. Adjust the value to 5.0 by navigating with UP/DOWN buttons and
finally press the RESTART key to confirm and get back to display state.
If you need to set other parameters, please refer to above settings
Based on 0 reviews
Be the first to review “W3230 AC 220v DC 12V Digital Thermostat Temperature Controller”
You must be logged in to post a review.


There are no reviews yet.